Applies to: Brands, Agencies, and Publishers (features will vary across account types)
Note: By default, Brands and Agencies can only edit the campaigns that they create themselves. Please reach out to your Network Rep if changes need to be made.
Instructions
- Navigate to Measure > Campaigns > Create Campaign.
- Please note, agencies will need to enter the brand dashboard they are building the campaign for in order to see "Create Campaign".
- Select Campaign Type.
- Reporting Campaign: This is a reach and frequency campaign only. A basic live dashboard for your campaign, providing impressions, reach and frequency data.
- Attribution Campaign: A campaign to measure conversions gained from your podcast campaigns. Spotify Ad Analytics helps you track conversions with the Spotify Pixel and assigns recognition evenly along the path to conversion, which is also known as a linear or partial attribution model. Attribution allows you to accurately report conversion totals of all campaigns that are measured in Spotify Ad Analytics.
- Select the other party that's part of the campaign:
- For Advertisers: Input and select the Publisher or Network your campaign is with.
- For Publishers: input and select the Advertiser.
- Input Campaign Details > Create Campaign.
- Important: Refer to our Campaign Build Best Practices.
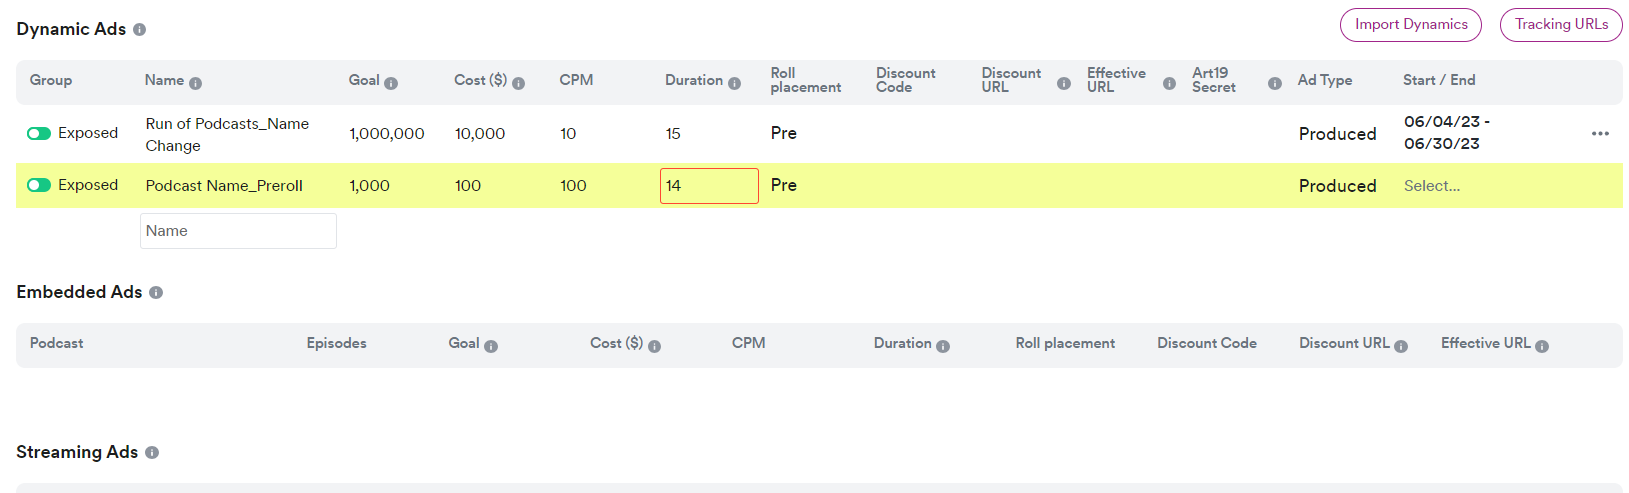
- Select Edit Ads to create line items by ad type:
- Dynamic Ads are measurable in Ad Analytics when the publisher successfully implements a tracking URL for each line item.
- Discount Code, Discount URL, Effective URL are optional.
- For Publishers: When using the "Import" feature, be sure to include all required fields in your upload.
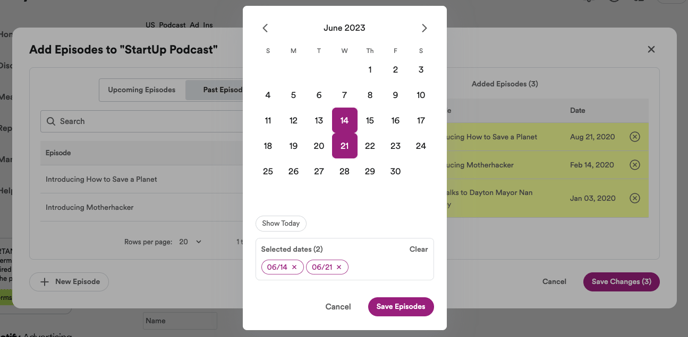
b. Embedded Ads are measurable in Ad Analytics when the publisher has successfully installed the Spotify RSS Prefix.-
- Select the Podcast name > EDIT Bulk add your future embedded episode dates.
- Select Past Episodes to add episodes that already dropped, or select Upcoming Episodes to add episodes that have not yet dropped.
- Select New Episode if you do not see your upcoming episode. +New Episode > choose date(s) > Save Episodes > Save Changes.
- Dynamic Ads are measurable in Ad Analytics when the publisher successfully implements a tracking URL for each line item.
6. The campaign is now in draft mode.
-
- For Advertisers: That's it! The campaign will automatically launch on the Start Date, and will be visible on the dashboard on the Campaign Dashboard Live Date.
- For Publishers: Implement applicable tracking URLs and confirm Tracking URLs - copy, export, and CONFIRM so that the advertiser knows you've done your part
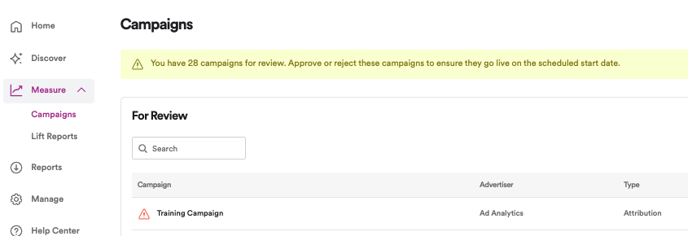
7. For Publishers: Approve or reject campaigns that an Advertiser has built. View Pending Approvals by clicking on the Notifications bell or by navigating to Measure > Campaigns > For Review. 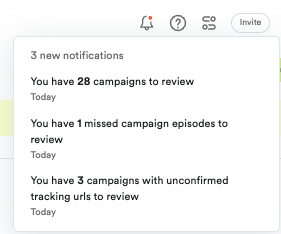
-
- Approve - Change the campaign to reflect the media plan and/or however the publisher wants. You should always make the changes and APPROVE; the other party can always see the changes using audit log.
- Reject - reject and let the other party know why! Rejections should be used only when it is a mistake, every other scenario should be editable, then approved.
Tip: Always search for a campaign before building a new one. Another dashboard member may have already created one!